
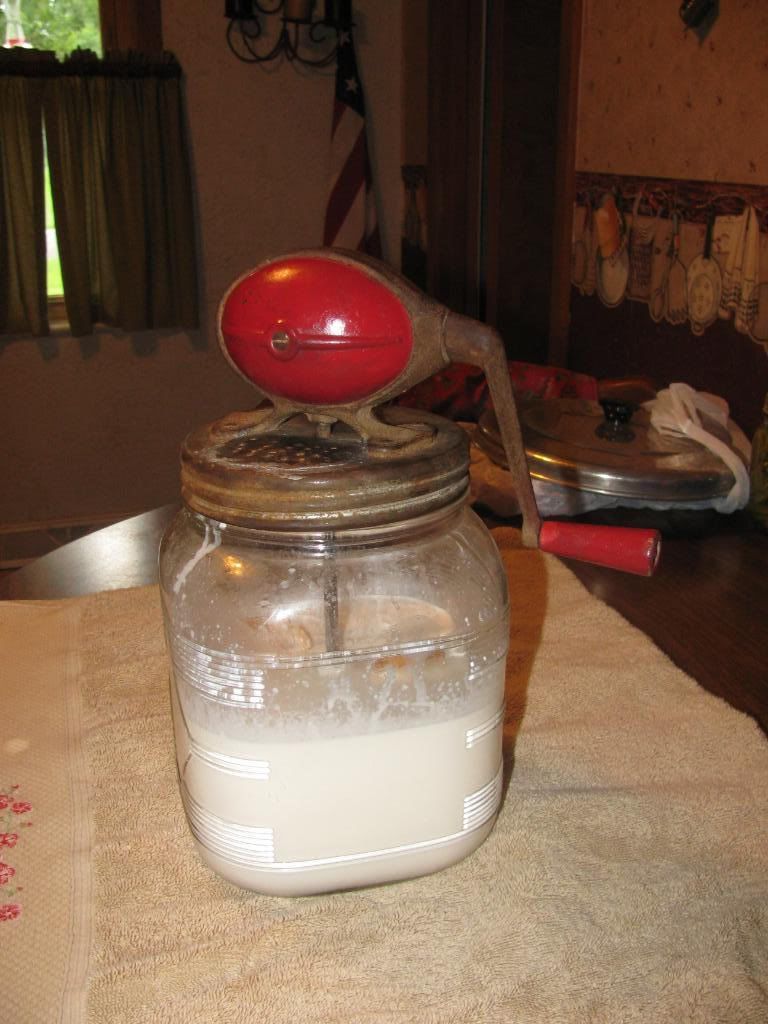
This picture shows the rich cream waiting to be churned. Goat cream is white, not yellow like cow cream. To successfully churn goat cream into butter, you need to bring it to 66 degrees. Too warm and the butter will take forever to come and will pretty much just turn into a big ole mass of whipped cream and never really turn into butter. You can fix that by running cold water over it, but it's just easier to have it at the right temp to begin with.
The photo below shows the cream after it has been churned into butter. It really doesn't take any time at all to get the butter to come unless you don't have the temperature right. You will be cranking the handle on your churn, then it will feel like it gets a bit harder to crank, then the thick swirl of cream inside the jar will suddenly turn watery as the butter lumps in the bottom and the buttermilk splashes around the sides of the jar.

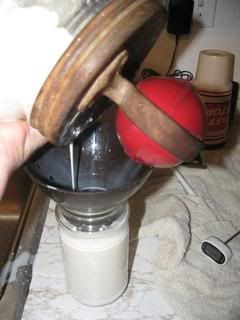
In this photo I'm pouring the buttermilk off of the butter in the churn. Stop cranking as soon as the buttermilk starts splashing around the sides of the jar and pour the buttermilk off. Pour it into a mason jar so that you can save the buttermilk for baking. Some (but not all) churns have holes in the top so that you may drain the buttermilk without taking the top off the churn. This is a really nice feature to have and I'll tell you why in a second!
After you drain the buttermilk off you are left with an ivory white lump of butter in the bottom of your churn. Add some really cold water back into your churn with your butter, replace the top and give it a few cranks. This helps you to rinse the butter thoroughly. Drain the liquid off (not bothering to save it this time) and repeat this process until the liquid coming off is mostly clear.

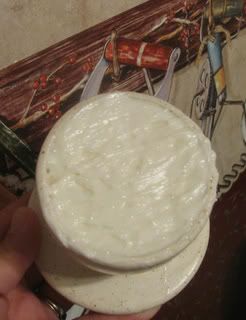
Then you dump your lump of butter into a cheesecloth lined colander and work the rest of the water out, getting out as much as you can. Goat butter is silkier and softer than cow butter (at least mine is) so this step can be a little tricky, but just do the best you can and call it good enough. Then use a wooden spoon to work in some salt to taste (if you want) and then you are done! I then fill my butter crock up for table butter and either put the rest in the fridge or in the freezer in 1 cup packages for baking, depending on how much butter I've made.

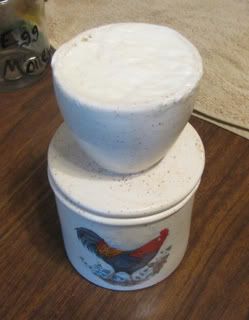
These next photos show the nifty little buttercrock. This one is handmade by an American ceramic making fella.......LOL! I bought it off Ebay for nine bucks. It's really wonderful! It works great unless the temps is above about 78 or so, and then the butter gets too soft and falls down into the water. However since it's about 110 in the shade here right now, we have the air conditioning on so it's nice and cool in here and the crock works wonderfully.
Well I hope that you are all having a good summer so far. Hope the chickens are laying, the garden is growing, the goats are milking and you are doing what you love with the ones you love! Until next time..........
GOD BLESS FROM GOODWIFE FARM!
No comments:
Post a Comment
If you'd like to comment, I love to hear from folks and I will do my absolute very best to comment back or answer any questions!