Showing posts with label soapmaking. Show all posts

Monday, March 2, 2015

Soap Days!

We had a soapy Saturday!  Last Saturday I made soap and canned beans.....and if you've been a long-time reader of my blog, you may have deja vu about that, for good reason.  Since I've already blogged about 

I'll spare you all the details and just leave you with some pictures of the soap making process!

Here are the fats melting together.  This batch consists of home rendered deer tallow, coconut oil, home rendered lard, and olive oil.....


Here is the lye/water mixture in the lye pitcher....


Once the fats are all melted, you then begin to juggle your temperatures to get your fats and your lye both around 100 degrees or so, and when they are both right around those temps, you s-l-o-w-l-y pour the lye/water mixture into the fats, stirring in a continuous motion all the while.


You stir and stir and stir some more until your soap traces, then pour in into your mold and wrap it up all snug so it doesn't take cold....


Then two days later, you unwrap it and see if it "soaped"!


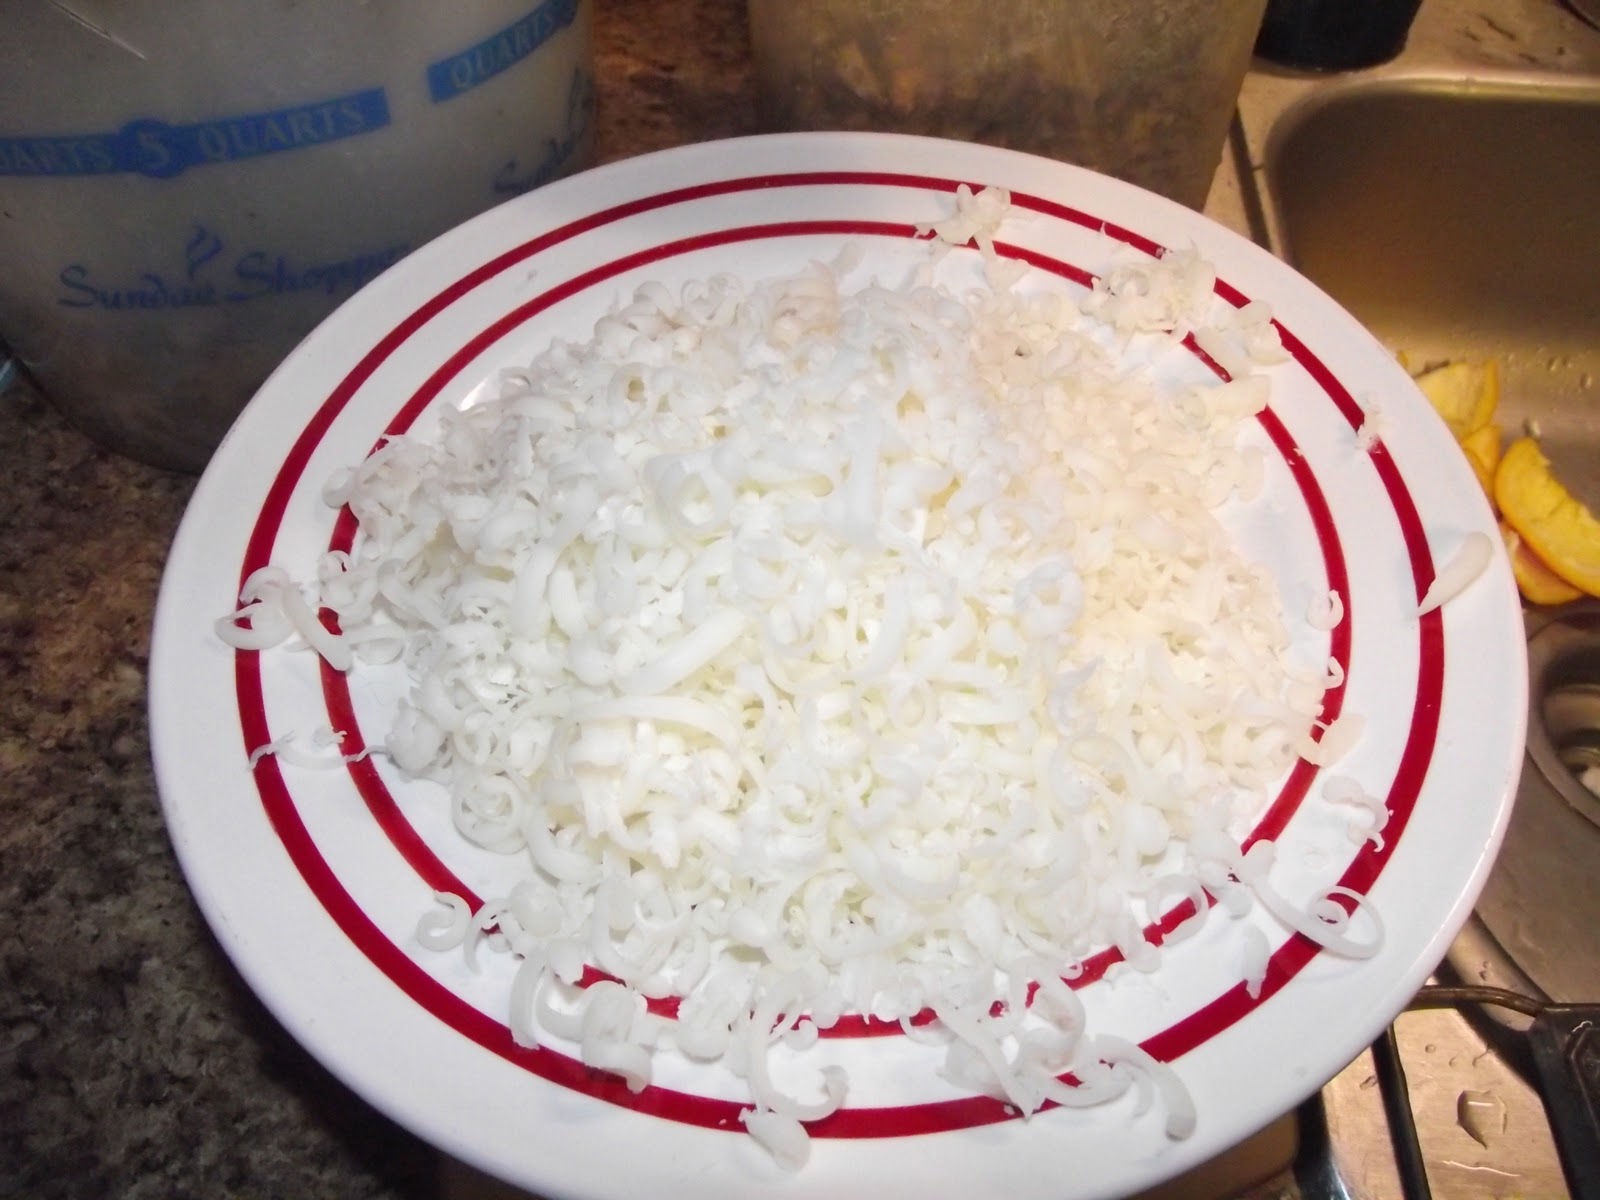
This batch did beautifully and produces rich, creamy lather.  Of course as you'll remember from my other soap making posts, it won't pop out of the mold and I had to dig it out, but again, I mill my soap so it doesn't matter anyway.  By the time I'm done with it, it will be lovely little bars of pretty soap!

I'll leave you with a soap-ish quote that I think is all too true, and all too rare...

 Soap and water and common sense are the best disinfectants.
-William Osler

Till next time....

God Bless,


Friday, March 11, 2011

Pinto Beans, Sandwich Baggies, and Soap...........

Yesterday I did some more cannin'.  Pinto beans with chipotle chili seasoning this time.........


While they were in the canner I decided to try my hand at making these cotton sandwich bags.  To my great surprise The Man said he would use them if they would keep his sandwich fresh.  I've had a slice of bread in it all day and it isn't looking good, but I do have a plan that I'll blog about soon.  I've also got some chips in one to see if they get stale.  This is what mine look like and they were ridiculously easy to whip up, taking like less than 2 minutes!


I love this fabric!  I bought quite a bit of it to make cloth napkins out of.  It's a lovely homespun....


And here you can see the little chipies in there.  I really love these bags and hope my idea will solve the freshness problem.  I've been packing The Man's lunch every day for 15 years and I'd love to stop using sandwich baggies!

Then I made a batch of basic soap.  Since The Youngun and I are both using my homemade shampoo, I needed to get more soap made.  I'll use this basic bar to mill with goat's milk and to grate and melt for shampoo and liquid soap. 

It' so funny because as I was looking up the links for this post, the last time I made soap I canned beans as well!

Have a wonderful weekend and I'll leave you with this picture.


This beautiful Barred Owl and his companions serenade us every evening and early morning with their mating calls.  It's beautiful!  Click to see it bigger......

and don't forget to check out....


God Bless.....................


Friday, February 18, 2011

Do I Still Like My Shampoo??

Yassiree Bob I do!!

My hair last night before bed...........
I've been using it for over 5 weeks now and I still have enough from the first batch for at least another week.  I made another batch yesterday, so that I wouldn't be scrambling when I run out.


I've also noticed some interesting things about my hair.  It feels more "there".  That's the only way I know to describe it.  It used to feel very slippery and now it feels more textured.  It is also much less oily.  I can now go two full days without a shampoo and my hair doesn't look like you could fry an egg on my head!  Before using this homemade shampoo, I had to shampoo every morning or my hair looked gross!  On the days I don't shampoo, I just rinse my hair with plain water in the shower, and then use my vinegar rinse before I get out.   
Once again, it feels really good to use soap, shampoo, and face cream that I'm making myself!

Now if I could only make my own vinegar for my hair rinse...................


God Bless..................


Thursday, January 20, 2011

Detailed Homemade Shampoo Instructions......

It's come to my attention that some of you dear readers might like to make your own homemade shampoo and I didn't exactly give you the whole scoop on how to do it!  I'm sorry about that, but will tell you now.....

The ratio of liquid to grated soap is 30 oz liquid, to 5 oz grated soap.  So, you grate and weigh your soap and put it in your soap pot.  I only use this pot for soap making or milling, nothing else.  Then you steep your herbs in your boiling water, or just use plain water, and add 30 oz of it to your 5 oz of grated soap along with 1/2 tsp powdered pectin.  Then you put your pot over low heat and gently stir once in awhile until all the soap is melted.  Remove it from heat and add in 5 drops of rosemary essential oil.

If you don't have homemade soap on hand, I've read you can also do this with castile soap from the store, but I've never done it.

Then pour it into a clean shampoo bottle or other container.  At this point it is going to be very thin, but it will thicken up dramatically after cooling down.  I like to shake it every once in awhile as it's cooling.

Anywho, once again I'm sorry I forgot to put in the detailed amounts in my post.  I'm going to edit the original post to include these amounts as well.  Good luck if you decide to do this and I'd love to hear how you like it.


God Bless.................


Wednesday, January 19, 2011

Homemade Shampoo Updates............

Day One............
Shampoo'd as usual, then let air dry.  I never blow dry my hair, so this was in the evening after shampooing in the morning.  It takes my hair a long time to dry, plus I had it up in a clip for the biggest part of the day.


Day Two..........
I didn't shampoo today, just got up and brushed my hair as usual


Day Three.............
Shampoo'd in the morning, let air dry.
Are you tired of lookin' at the back of my head yet? 

Day Four............
No shampoo, just brushed and went about my day.  Static is a big of a problem, but then static is always a problem for me this time of year!


Day Five.........
Shampoo'd the night before, went to bed with wet hair.  Brushed in the morning....


Day Six.......
Shampoo'd, let dry, combed, took picture.........don't worry we are almost done with this.....lol!


Day Seven...........
Didn't shampoo, just brushed and took the picture....


This concludes the week long review of my homemade shampoo.  My conclusion is that I like it very much!  I hope to make this my permanent shampoo choice and hope to experiment with different herbal rinses this summer when my herbs are growing.  I'm able to shampoo every other day and my hair still looks good, although it looks better on the day I shampoo.  It is also a lovely total body wash. 

I can't tell you how good it feels to get in the shower and use homemade soap, homemade shampoo, and then slather myself down with homemade face cream!


God Bless........................


Thursday, January 13, 2011

Makin' Poo..........SHAMpoo that is!

After Steve and I made my skirt, I decided to make some homemade shampoo.  I've done this before and liked using it, but haven't made any for a couple years.  Homemade shampoo takes some getting used to as it leaves a different feel to your hair.  There is sort of a break in period as well, but it's worth it if you'd like to try homemade shampoo.

To make the type of shampoo I make, first you need a really lathery bar of homemade soap.  I went to the closet and got a hunk of the soap I made last year.  Click here and here to see what that was all about. 

Then you have to grate that chunk of soap up and weigh it out.  You need 5 oz


This is what I use to grate my soap.  I love this old grater.
Then you have to mix your grated soap with 30 oz of water or an herbal water mix and 1/2 tsp powdered pectin. 

The powdered pectin keeps the soap from clumping and separating back into little grated chunks of soap.

I also put in about 5 drops of rosemary essential oil.

Here is the grated soap with the water, pectin, and rosemary added in.  Instead of plain water I used chamomile tea.  Chamomile is a good rinse for light hair, and even though my hair is brunette I think it'll be ok.  If my hair turns green, you'll know why!

After it is all melted and smooth, I fill a small bottle with the shampoo.  Then I put the rest of the shampoo in a bigger bottle and just refill my smaller bottle.  In this picture it's still warm.  As it cools it will settle and thicken into a nice shampoo texture.  You can also use this as a nice handsoap, it's very smooth and silky! 
I make a hair rinse with vinegar and herbs to use after shampooing.  When you use homemade shampoo it's a good idea to use a vinegar hair rinse to balance your ph.  I don't have any fresh herbs being winter so I just used some more chamomile tea.  I'll mix it in a mason jar, then fill a smaller bottle to keep in the shower.  You have to keep it cool or it will ferment, so I'll keep the big bottle of it in the fridge and simply refill the small bottle as needed.

Stay tuned to hear how I like this batch of homemade shampoo!


God Bless.........................

Wednesday, April 14, 2010

Milling Soap....................

When last we left the Goodwife (ok, ok, so it wasn't actually the LAST blog post, but it sounds so much more intriguing this way don't you think?) her basic soap had "soaped" and we were waiting to see what would happen next.....
Here she is grating the basic soap into a pan..............notice the gloves.  The basic soap is still caustic at this time.  Better safe than sorry!
Now we've got a pan of grated soap and a lovely glass of goat's milk!  As much as I'd like to drink that entire glass of milk it would cost me close to 6 WW points and I just can't afford that, so in the pan it goes!
 
We turn the burner on as low as it will go and pretty much just forget about it.  If you stir too much or too roughly you'll have lots of itty bitty bubbles in your soap and we don't really want that
Starting to melt nicely!
K.........this is melted very nicely and ready to add in whatever I choose.  This batch I added ground oatmeal. 
Dumped the oatmeal in.......
Stirred the oatmeal in.........ok.....now you can add your scent.  I used warm sugar cookie.  Warning......at this point your mixture is going to look and smell good enough to eat......you don't want to eat it......but feel free to make yourself a nice bowl of steel cut oatmeal when you are done!
Now we are ready to pour our soap into our molds.  You can use fancy molds as I'm doing here, or just pour it into a plain old mold.  Plastic shoe box type thingy's work great! 

Now we are going to pop these babies in the freezer for a few hours.  Once they are hard to the touch, we will get them out and pop the soap out.  Once again, life sometimes isn't like the movies but we shall see if this batch comes out without a fight!

You may be asking yourself..........where is The Youngun while the Goodwife is busily doing her soap?? 
Yup........she's in the Hillbilly Swimming Hole, and no it isn't really warm enough yet, but The Youngun just doesn't seem to care!


UPDATE!

The finished bars.........


Close up of the finished bars.....please excuse my fabulously wonderful photography skills........but at least you get the gist right??


Till next time..........God Bless!