Showing posts with label recipes. Show all posts

Wednesday, March 11, 2015

Fried Quail......or Crispy Kentucky Coturnix!


So as some of you know, Coturnix Quail have quickly become a valuable asset to our little homestead!

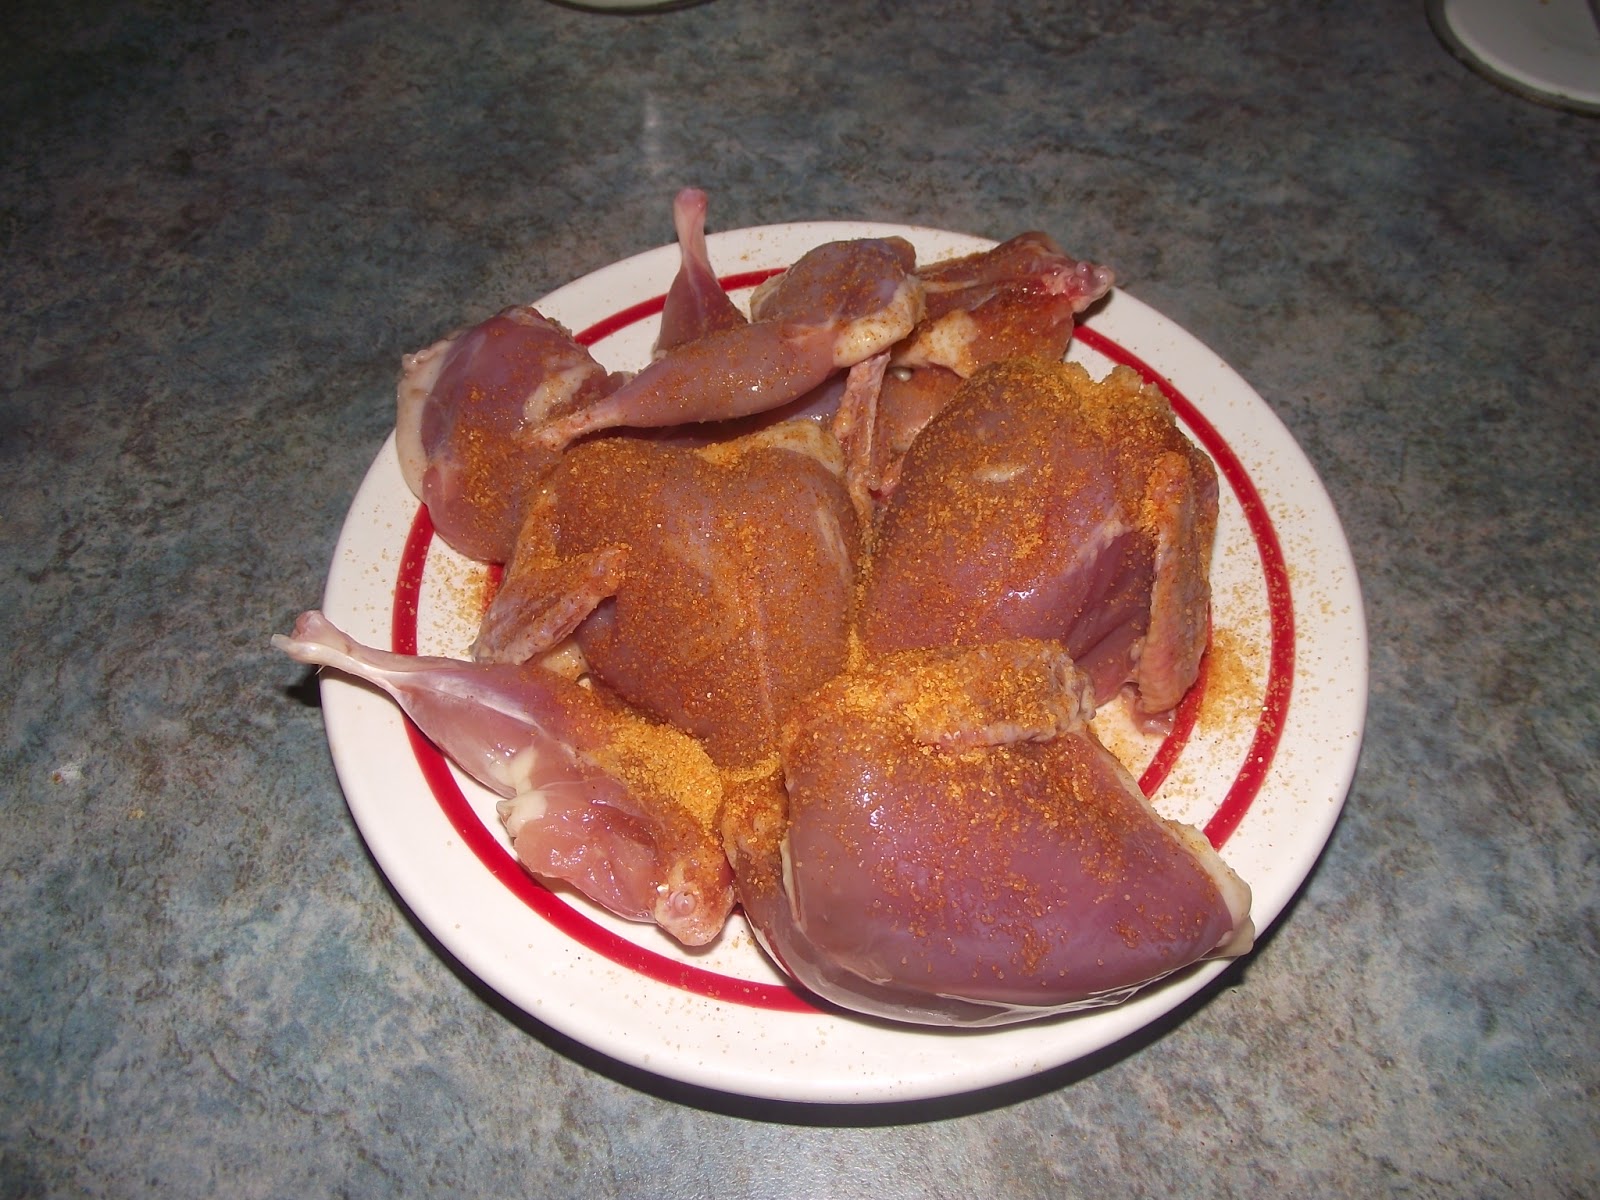
Tonight we had  some for supper and I thought I'd share it with you!

First, lightly sprinkle your quail with your favorite seasonings....


I use seasoned salt for The Man and The Youngun, and a mixture of salt and pepper for mine.  (The Man can't eat black pepper)

Then I beat up some egg and milk.....


Then slosh the witty bitty quail around in there.....


Then shake them up in a bag or toss them in a bowl of flour that you've lightly seasoned with some seasoned salt.....or salt and pepper, or whatever is your favorite...


Then do it again.....Double dipping isn't strictly necessary, but it does make for more of the yummy coating....


Then drop them in some hot lard......


Until they look like this....


They'll pretty well float when they are done and it doesn't take long.  If you remember I don't time anything, so I'm not sure how long....

And then I like to put them in a covered casserole, in a hot oven, for about 15 minutes or so....again, that's just a ballpark, pretty well while I finish up the rest of supper....


Then you should totally make yourself some milk gravy to go with it...

First put some yummy grease of some sort in a pan.  Bacon grease, pork fat, whatever...If you fry your quail in a skillet you can use the drippings from that.  Since I deep fried my quail tonight, I'm using the leftover grease that I fried pork chops in last night.  That's why I don't wash my pans...you never know when you might need to scrape some yummy stuff off............BAHAHAHAA!

Anyway, back to making the gravy...

Put your grease in a pan and get it hot, not smoking, but hot....


Then dump some flour in there...how much depends on how much grease you are using.  This is sort of a learned skill when you don't measure, which I don't...ever.....

Now whisk that up until it's nice and smooth and bubbly.....


Then add some milk, it's better to use not enough than too much....if your gravy is too thick, you can whisk and thin it down with more milk.....if it's too thin, it's much harder to get it thickened up without it becoming lumpy and like wallpaper paste......


Then turn your heat to medium low and whisk while you are finishing up the rest of supper.....you can stop every once in a while if you need to do other things, but come back to it often and stir, watching for it to start to thicken....


Then you are ready to eat!!

Fried Quail, Mashed 'Taters with Homemade Milk Gravy and home canned Baked Beans!


When thou hast eaten and art full, then thou shalt bless the LORD thy God for the good land which he hath given thee.  Deuteronomy 8:10


I can't tell you how thankful we are to be the stewards of this little piece of land and these animals.  We are so blessed!!  

Till next time.......


Friday, February 27, 2015

Hot Turtle Bites.....Served Hot!

As promised in this post......

 Here is what we do with the canned turtle!


First I drain all the broth off.....Your dog will love this, or your pigs, or chickens, or whatever....
Please excuse the wadded up tissue.........I'd like to say it wasn't used on my snoot, but that would be a lie....
Then I beat an egg with a little bit of milk......


Then toss the turtle meat in the egg/milk mixture....


Then toss with some seasoned flour......

 Now heat some lard in a cast iron skillet....

You'll notice a bit of funk in the bottom of my skillet....that's because I seldom wash it, and I also reuse lard or bacon grease quite a bit....again, sorry if that offfends, you don't have to do it that way....
And add the floured meat......


Brown on one side......

Then flip and brown on the other side........


Now put in a casserole dish with some hot sauce and butter........


And bake in the oven for just a bit to "set" the sauce.......


Now eat!!  We like it with a little bit of ranch dressing, or blue cheese, or shredded mozzarella...the possibilities are endless and if you don't "do" hot sauce, you could use your favorite barbecue sauce or it's even really good just plain!

Now go catch you a snapping turtle and make you some supper!

Till next time!

God Bless,

Thursday, March 3, 2011

Oatmeal Chocolate Chip Bars.............

The other day, before the Great Escape  The Youngun requested some chocolate chip cookies.  Since I always like to experiment and invent new recipes, I decided to make up these bar cookies.  They were really good, and passed The Youngun test, and even harder, they passed The Man test.  The Man isn't much on sweets, except for ice cream, and he requested a couple of these bars heated up then topped with ice cream.  When I asked him how he liked them, I got The Nod, indicating they were good!  So, without further Ahh Doo, here ya go!

Beat butter and sugar til light.......


Add eggs and vanilla and beat well........


Then add in flours, soda, and salt. Mix well. Stir in oatmeal and chocolate chips mixing well.  This is a pretty "dry" dough.
(I didn't get a picture of this part, cuz I was on the phone with that darn sister of mine again!)

Press into 9x13 or similar sized pan.  This one is a bit smaller than that, and bake at 350* till center is JUST set.  Don't over bake these, and once again, you know the Goodwife doesn't time anything, so I've got no clue how long they baked...........
 

Looks good no???


Goodwife's Oatmeal Chocolate Chip Bars
  • 1 cup butter
  • 3/4 cup brown sugar
  • 3/4 cup white sugar
  • 2 eggs
  • 1 tsp vanilla
  • 1/2 cup white flour
  • 1 cup whole wheat flour
  • 1 tsp baking soda
  • 1/2 tsp salt
  • 3 cups old fashioned oats
  • 1 pkg chocolate chips (I use semi sweet)
Beat butter and sugars til light.  Add eggs and vanilla and beat well.  Add flours, soda, and salt, and mix well.  Stir in oatmeal and chocolate chips til combined.  Press into 9x13 or similar sized pan (bigger makes thinner bars, littler makes thicker) and bake at 350* til center is JUST set.  Enjoy!


God Bless......................


Monday, February 14, 2011

Ozark Mountain Berry Pie..........

I've had this recipe in my recipe box for more than 15 years and this is the first time I'm making it!  I had to use frozen berries from Aldi, cuz I didn't have any "real" ones, but it's still yummy!
Combine 1 c sugar, 1/4 c corn starch, and a dash of salt and a dash of cinnamon.......notice the handle on this pan?  It's one of my favorite pans and I got it from Salvation Army.  The black plastic handle broke off, so Dad made me one out of wood to replace it!

Add in 3 1/2 cups mixed berries.  I used blueberries, raspberries, and blackberries.  Stir to coat, then add in 1/2 cup water and 2 TBSP lemon juice.  Cook over medium heat till just the boiling point, and I forgot to get a picture of this step, but it will start to get nice and thick......

I also was talking on the phone with my sister while making this and forgot to get pics of making my pie crust.  All I have to say about pie crust is this........flour.........lard.........ice water........done!

Pour your filling into a 9" pie pan (of course with a crust in in) and then top with some  purty lattice if you want, or a plain crust, and bake it at 350* until filling is bubbly and crust is golden!

Mmmmmmmm, looks good huh?

I'm a busy girl this mornin', rendering lard, making bread and rolls for the freezer and of course baking this pie! 

Hope you've got some warmer temps and some sunshine this gorgeous Monday!


God Bless................


Wednesday, February 9, 2011

The Joys of Pressure Cooking or Roast Beef Aww Juice......ala the Goodwife!

So the other night I fixed beef tips n' onions with brown gravy for supper.  Turns out that hunk o' chuck roast I bought wasn't the most succulent piece of meat I've ever bought.  We like our beef bloody and moo-ing and it was tough!  So, I had the other half in the fridge and thought I'd fix it up sandwich style for The Youngun and me to have for dinner today.  The Man won't eat beef if it's dead, so that's why we are havin' it for noontime.

So anywho.......here we go!

The pressure cooker is a blessing and a boon to Goodwives everywhere!  Forgot to get anything out for supper and you've only got an hour to go?  Well it's the pressure cooker to the rescue!  It can take frozen chicken, pork, or beef and turn it into a gourmet meal inside of 45 minutes!!  If you've never cooked with one, you must remedy this soon.  I'm sure your Great Aunt Murtice has one lurkin' 'round somewhere, or if she doesn't  good ole' Granny Hoosebow'll have one.  If you've exhausted your relatives, then look around at yard sales, or thrift shops and you'll find one.  There is nothing to go wrong with them but the seals and that is an easy fix.
You can order sealing rings, jigglers, and gauges online with the greatest of ease!

That big round lookin' thing is the sealing ring and the little fella is the air vent.....

And now we've got the new ring and air vent in and we are ready to go!

Here we have the offending piece of beef all seasoned up and ready to go.  I used seasoned salt, and garlic salt, but you can use whatever you like.......

Toss some lard in the bottom of your pressure cooker and turn the heat on high.....

Of course your helper will be givin' you doe eyes cuz you are cookin'.  Pay no attention to her until the roast is done, whereupon you will give her the fatty and gristly bits as you are shredding the beef...unless you just can't stand it and then you can sneak her a lil somethin'......

K.....once your lard is almost to the smokin' point, you are gonna want to sear your roast on all sides.....and then top it with a bay leaf.......

Add in enough hot water to almost cover your hunk a meat......and then put the lid on your cooker.....

Leave the burner on high and soon a whole lotta steam will come out of this little fella.....

Once you've got steam pouring out that guy, you are gonna put your regulator on.  Just push it down firmly on the thing the steam is pourin' out of.  Be careful you don't get burned!  Meanwhile, that little air vent guy will have popped up, see.....

As the pressure rises in your cooker that little thing on top of your regulator will rise up.  (On this particular model......some have jigglers instead).  So when you can see all three of those white rings you are cookin!  Set your timer for 35 minutes and go find something else to do......perhaps a blog post!  At the end of 35 minutes, turn your heat off and go back to your blog post........

After a little while, the little white ringed thing will go back down and your little air vent will go back down as well.  That's how you know it's safe to open your cooker.  DO NOT try to open your cooker before those two things are fully DOWN!  Once they look like that, you can open your cooker, being careful to lift the lid off away from you, so as not to get a steam burn........

Now you have a nice tender hunk a beef and a nice amount of broth in your cooker!

Shred that stuff up, add in some onion and your favorite Italian dressing and a little bit of that broth.  I used a local brand of sweet Italian that is really yummy.  I also added in some Italian blend herbs and spices.  Just dump your choice of stuff in there until it tastes yummy, then let it simmer.  The longer you let it simmer the better it will be.  Don't discard that broth or feed it to your helper, you need it to make your au jus later...

Meanwhile the bread machine was making up this dough, which I shaped into hoagie-ish rolls......

To make your aww juice.......
Bring the left over broth to a rolling boil.  If you want to make it a little richer, you can add in half a packet of brown gravy mix.  Otherwise just use it as is, dividing it into little bowls....


Then build yourself a samwich by splitting one of those warm rolls, topping it with the shredded beef, sprinkle on a little shredded Italian style cheese, put yer lid on, dunk it in the hot au jus and you are in roast beef heaven baby!


God Bless..................